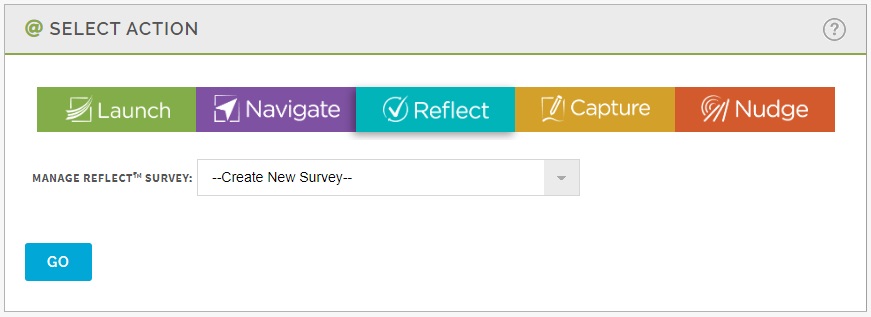
To begin the process of embedding a survey at a page level, you would first create your survey from the Manage Reflect™ Survey option located at the Select Action Screen of the Management Console as shown below. The process of creating the actual survey will not be covered here. Please refer to the recorded webinar on Surveys on how to create a survey.
After creating a survey you would like to embed on a page you will need to Release the survey from the Survey settings. Then go to the Settings area of the orientation found on the Manage Course screen and select the edit function. Scroll down to just below the instruction message and you will see the entry field shown below. Select the drop-down menu and then select the survey you want to use. Then scroll to the bottom and click Save.
![]()
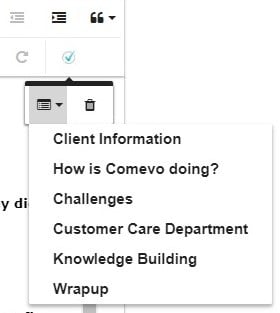
Next, navigate to the page where the survey will be embedded, select the editor icon on the far lower right that has a blue check mark in a circle as shown in the image below. An Insert Reflect™ Survey icon will appear. Select that icon and the survey questions will appear as options to place on the page. If the survey contains multiple questions you may want to place them on separate survey pages. It’s recommended you preview the pages to determine how you want the embedded survey to appear. An example of a survey page is shown on the next page.
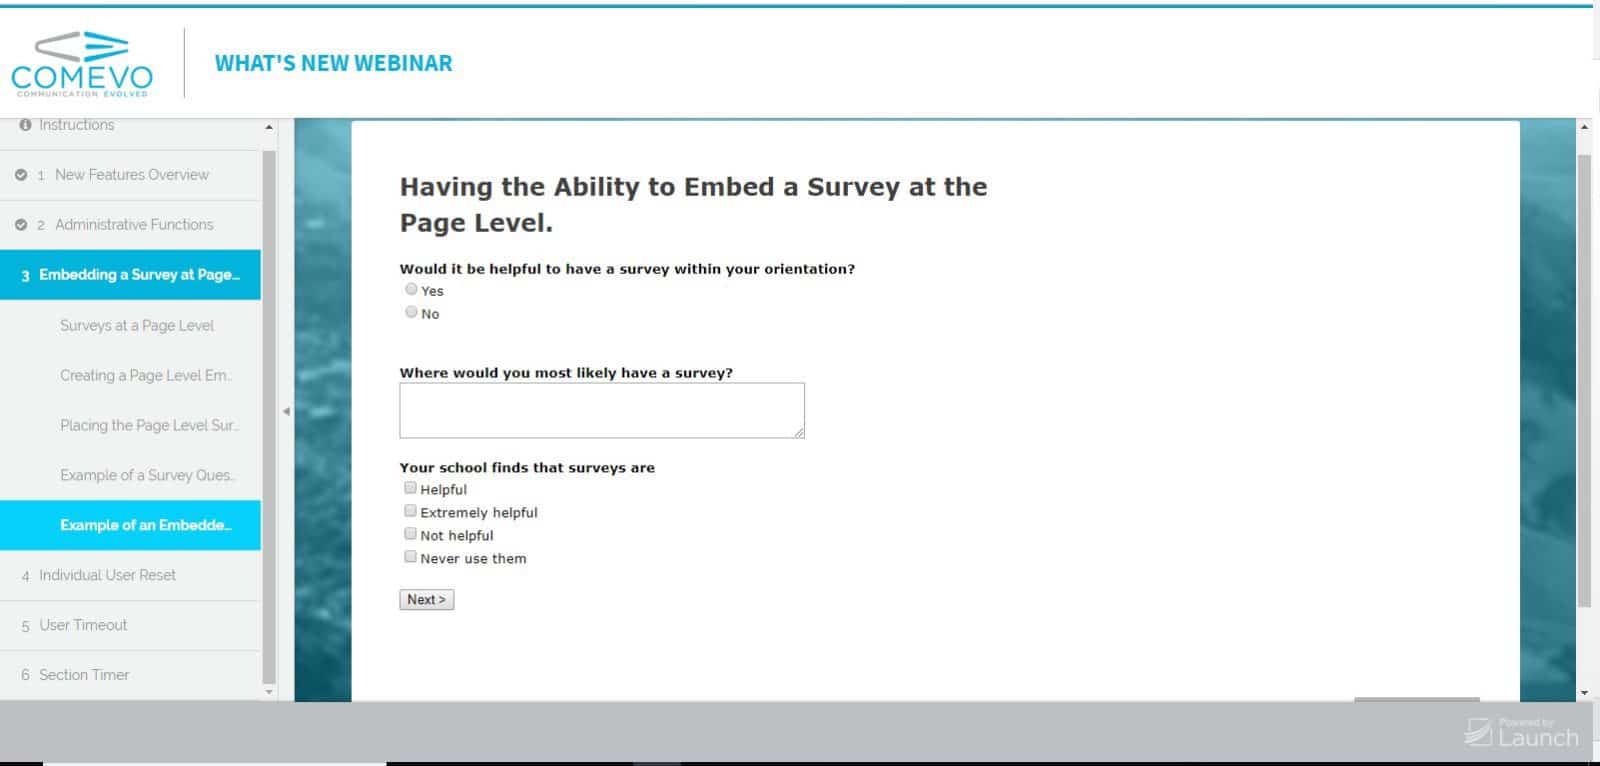
Below is an example of a page from the survey being placed at a page level. Because there are multiple questions in the survey creating a page for each will display better than one long survey on a page. When creating a survey keep this in mind. Once the survey has been taken you can see the responses from the Reflect™ Survey Reports area of the module. Reports can be accessed from the Home page.